Can I Install A Bathtub Myself
2020 Nov 3rd
Can I Install A Bathtub Myself?
There are several things to consider when replacing a bathtub, and the process is both difficult and expensive. It may require opening the surrounding walls around the bathtub, the based mounding, and underlayment.
If the room is small, you may also need to remove the sink, toilet, or cabinet to make room.
A lot can go wrong during the process, and if not handled properly, it can result in more damages.
However, if you have some experience in plumbing and construction and feel like you can handle it, you'll find all the information you need to replace a tub here.

Tools And Materials You’ll Need
Goggles
Jigsaw
Drill
Caulk gun
Silicone caulk
Pliers
Prybar
Chisel
Wrench
Dust mask
Screwdriver
Utility knife
Hammer
Pencil or marker
Remember that, except you are buying the same size as a replacement, you'll need to remove the base molding, underlying, and floor covering. These will be replaced when mounting the new tub.
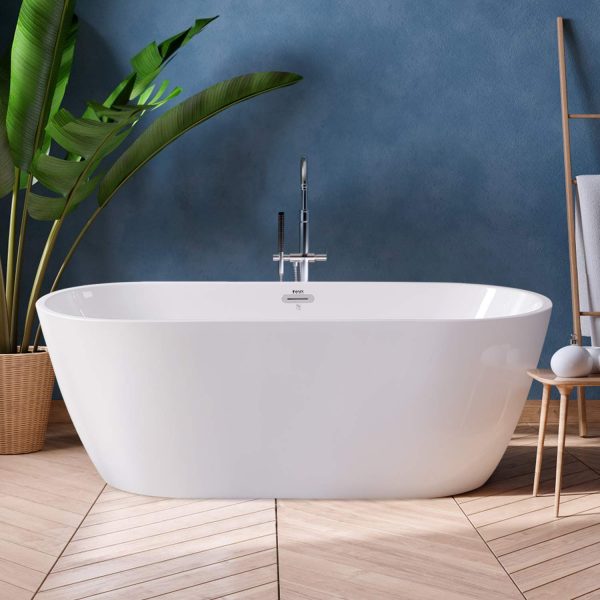
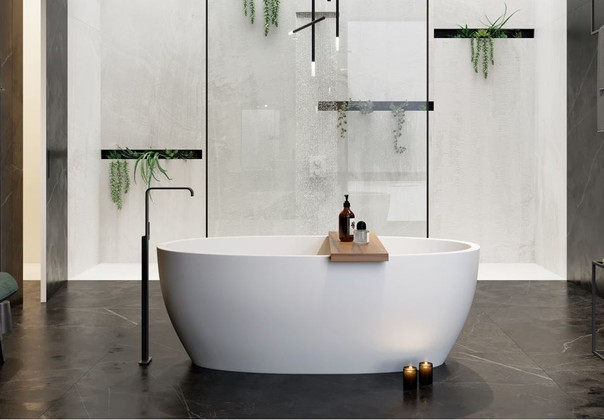
There are several great options available to you, whether you're installing for the first time or replacing your current tub. The Royal Biscayne 63" Freestanding Bath Tub and Royal Bari 67" Freestanding Bath Tub White are two classy choices.
If you’re having issues with space, consider the Royal Santorini 54" Freestanding Bath Tub. The tub is round and can fit into smaller spaces. The Royal Seabreeze 59" Freestanding Bathtub is also another conventional choice suitable for couples.
Remove the Old Tub
Your current bathtub is most likely trapped in between two walls, with the showerhead and faucet located on one. To remove the current bathtub and install the new one, you have to first disconnect the piping.
This process is quite easier if you have a freestanding tub. In that case, you’ll have free access to the pipes and fittings and would have to disconnect the pipes and pull out the tub.
Here are the steps to remove an old bathtub.
Step 1. Turn Off The Water
First, you have to turn off the water for the bathroom from the mainline. Locate the mainline and turn it off. Then turn on the tub's faucet to drain the lines.
Step 2. Disconnect Drains, Overflow And Waste Pipes
Remove all the accessories connected to the tub. Unscrew the faucet and disconnect it from the water lines. Remove every other thing, including the handles, overflow drains, showerheads, and the drain covers. Disconnect the tub drain with a wrench.
It's important to be cautious when removing these accessories so they aren't damaged – especially if you plan to use them again.
Step 3. Free The Tub
To remove the old bathtub, you have to remove the existing surround and drywall holding it. If the wall is tiled, use a hammer and cold chisel to remove the tiles around the tub (This is where you wear the goggles to protect your eyes from the debris). Be careful not to damage the pipes.
Use a utility knife to remove the drywall around the tub's edge to expose the clips holding it. The tub may be set to rest on a ledger strip. In that case, lift the strip so you can remove the tub. Remove or disengage the strips so the tub can be taken out.
Step 4. Remove The Tub
You'll need someone to help you move the tub away. Ensure there are no hangups and that the tub is completely detached from the water supply and drainage system. If you find any, disconnect it before you continue.
Use a prybar and wood to move the tub from the wall slowly. In most instances, you’ll be able to move the tub out from the wall. Don’t place the bathtub directly on the floor. Put it on top of a piece of plywood.
If you can't get the tub straight out, you have to remove it through the sidewall. Cut out the wallboards from the framing member to get the tub out. Ensure to shore up the wall with 2x4s before you cut. It's advisable to have a building expert take a look, especially if you are unsure of the house structure.
You can also use a wrench to disconnect the pipes or cut the pipes with a plier if necessary to get the tub out.
Installing The New Bathtub
Step 1. Purchasing the New Tub
It’s important that you choose a tub that'll fit the designated space. If you're replacing an old tub, the new tub you choose should be of similar configuration so that it can sit in properly.
Use a measuring tape to measure the tub area's length and width and the bathroom door to ensure the tub can pass through. Bring these measurements along when coming to purchase your new tub. We have various bathtubs from top brands such as Royal,Kohler, Delta, TOTO, American Standard, Signature Hardware, Fleurco, Brizo, Grohe, PULSE, and more. You'll get all the accessories you need like faucets, drain, water handle, etc.
Step 2. Dry-Fit The Tub
First, you have to dry-fit the tub to ensure it fits into the designated area. Check to ensure the drain hole and the water supply aligns properly. Also, make sure the faucet aligns with the water lines. Then remove the tub, and place it somewhere safe.
Step 3. Install The Ledger board
A ledger board supports the weight of the bathtub and ensures it's properly secured to the wall. To make a ledger board, cut a 2x4 board to the wall's length where the tub will be attached. Measure and mark the height of the flange of the tub. Use a drill to screw the ledger board to the wall, such that the top of the ledger board is slightly below the flange when the tub is set in.
Step 4. Attach The Drain And Connect The Overflow Drains
Before setting the tub in place, attach the drain to it. To do this, attach the bottom part of the strainer to the drain. Then put a gasket around it from the outside before screwing the strainer to the drain chute. Next, attach the overflow drain using a screwdriver.
Step 5. Move The Tub In Place
With assistance from your helper, move the tub in place, and properly align the water and drain pipes. Level the tub such that there's no rocking or instability. The tub flange should rest on the ledger of hanger clips. Connect the tub to the hangers for more stability.
Attach the drain pipes and water line using a wrench. Follow the manufactures instruction to secure the flange to the wall.
Step 6. Install Your Accessories
Screw the faucet to the coupling for the water lines. Screw the drainer cover over the drain opening at the bottom of the tub. Install any other accessory you need like handles etc.
Connect the drain to the p-trap by threading it into the p-trap below the tub.
Step 7. Complete The Project
- Run the silicone caulk around the edge of the tub to seal it and prevent water from getting in-between the tub and floor.
- Wait for up to 24 hours before turning on the water, so the caulk and other adhesives can dry fully.
- Turn on the water to check for leakages.
- Make adjustments if necessary.
- Complete the wall around the tub.
- Tile or paint, if necessary, to complete the project.
Ensure to contact a certified plumber if you run into any problems.

